Migrating VirtualBox VDI to Proxmox VE 5
This article is part of a series on virtualization with Proxmox. Click here for the original article, which detailed the process of moving a ZFS volume from a Ubunto host to a fresh Proxmox install.
First, create a new VM using the Proxmox web interface. Remember that the Proxmox VE web interface default port is 8006, and SSL is enabled on the web server; so type your URL in this format, and log in with root and the password used during setup.
https://<ip.addr.of.proxmox>:8006
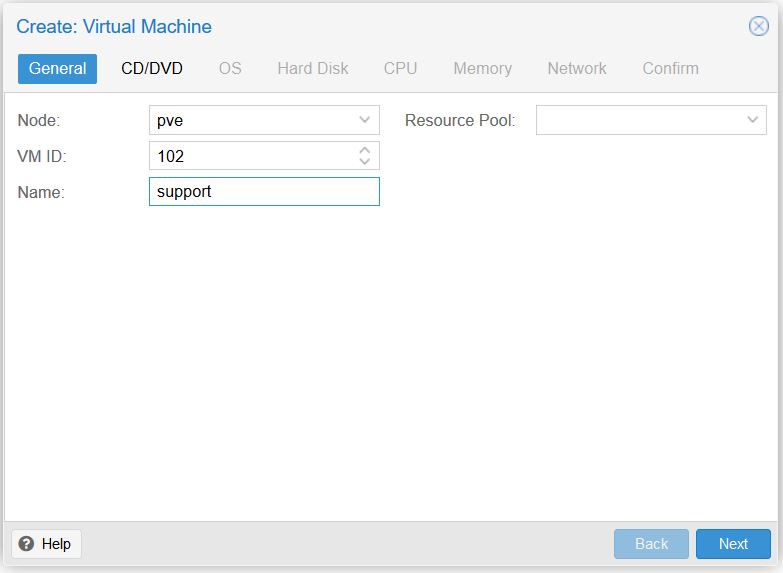
Click the “Create VM” button, and follow the wizard. We’re going to call this machine “support” because it runs, among other things, our CareTech remote screen sharing and support software. Note the virtual machine ID, which is selected by autonumbering: this machine will have an ID of 102.
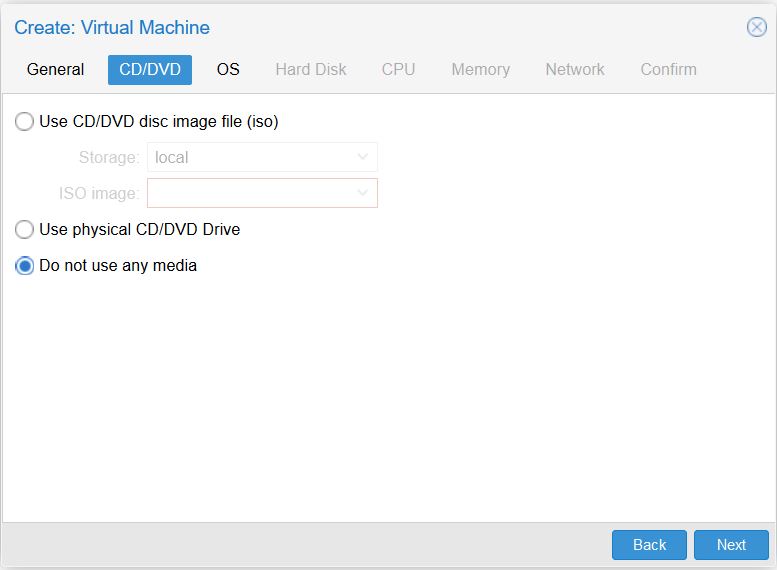
I don’t want to attach a bootable ISO image as a CD drive; we’re not going to install an OS, because we’ll be importing our VDI hard disk image later, and booting directly from it. So in the CD/DVD tab, select “Do not use any media.”
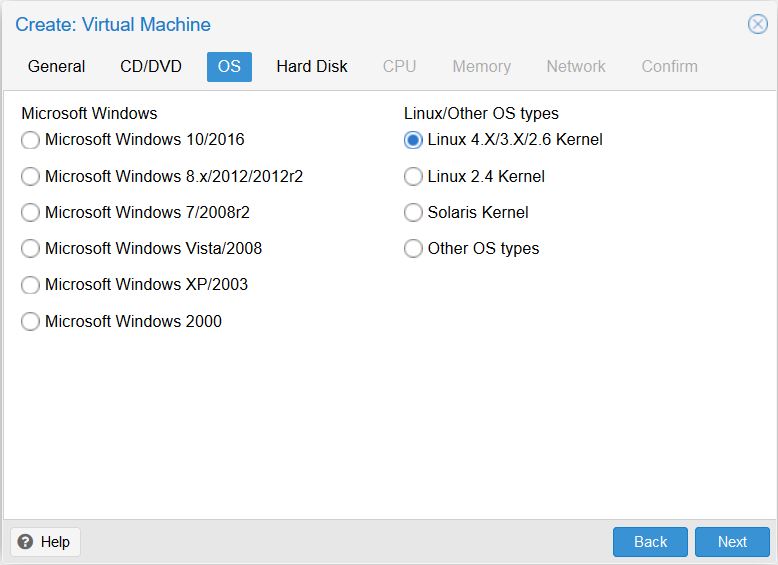
In this case, our virtual machine will be Linux with kernel version newer than 2.4.
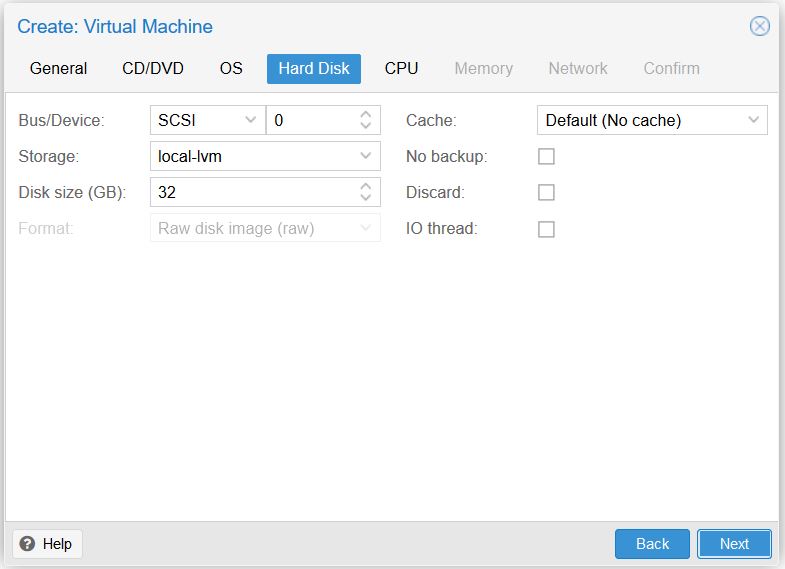
We’ll just roll with the defaults in the Hard Disk section; later we’ll remove this disk and import our own.
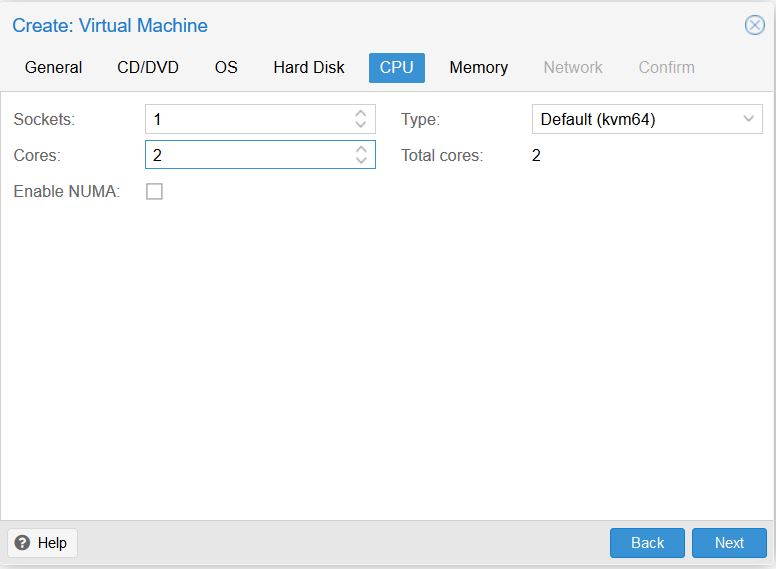
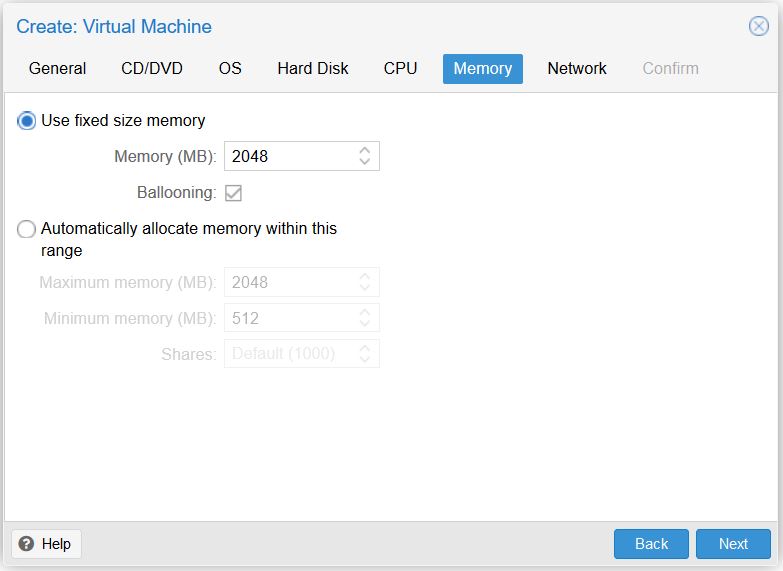
We’ll give our virtual machine 2 CPU cores and 2 GB of RAM.
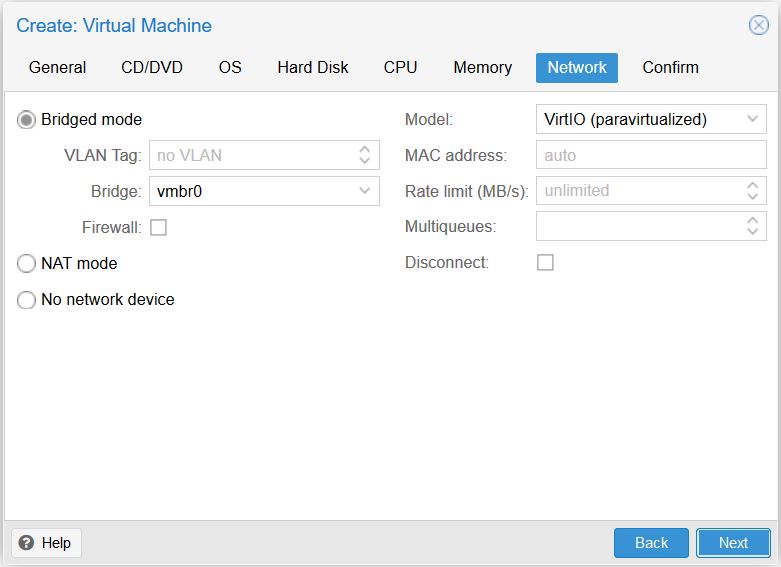
We’ll provide a bridged ethernet interface to our “support” machine. The VirtIO model is recommended by Proxmox and is supported natively by Linux guests.
On the Confirm screen, simply click Finish. The virtual machine is created and can be accessed by expanding the tree in the left-hand panel of the Proxmox VE interface. Select it, and then click on the Hardware tab.
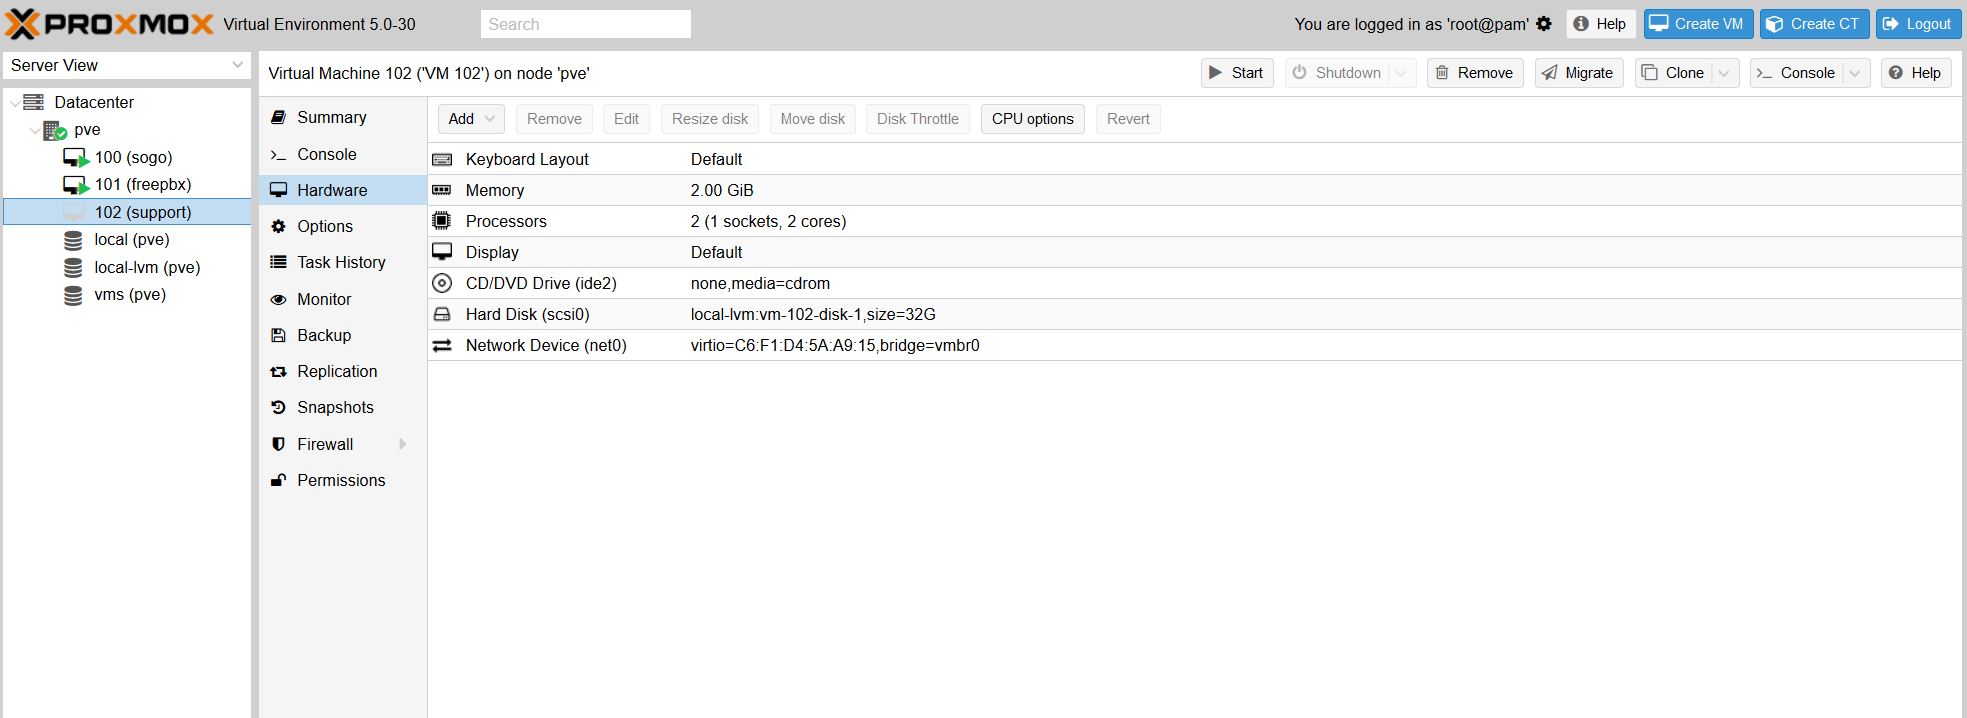
Remove the hard disk that was created by default: click on the Hard Disk, then click Remove in the toolbar. Confirm by clicking Yes. At this point, the hard disk will be listed as “Unused Disk.” It still exists but is not attached to the system. To destroy it completely, select the Unused Disk and click Remove again; and confirm when prompted.
To import our VDI file, it’s time to head over to the command prompt. A simple way to bring up a root shell on the host system is just to select the Proxmox host in the left pane, then click Shell on the toolbar.

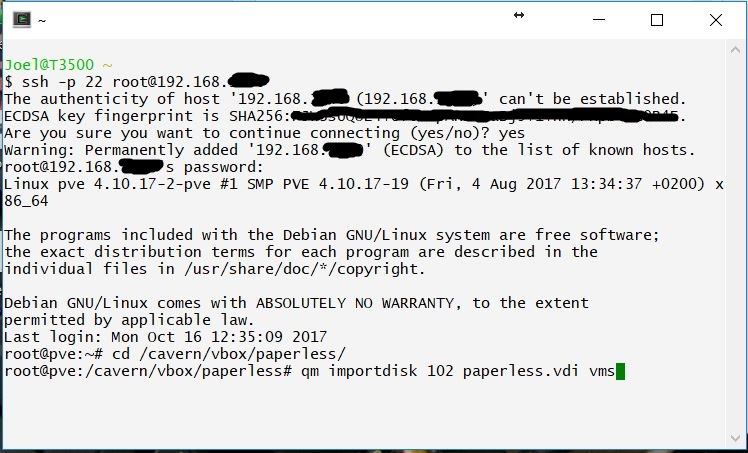
But for what we are going to do, don’t do it this way. This shell window times out after several minutes of inactivity, so for tasks that run a long time, such as the task we’re about to run, it’s not ideal; for better results, log in via SSH instead. (Windows users, use Cygwin or Putty; Mac or Linux users, just use the Terminal.) Proxmox allows root login over port 22 by default, so no configuration is needed to make this work. At the command line, navigate to the directory where your VDI file is stored. In this case, that’s /cavern/vbox/paperless/ and the file I want to import is named paperless.vdi. This command is all we need:
qm importdisk 102 paperless.vdi vms
Most of this command should be pretty self-explanatory. We’re importing a disk to VM 102; the file name is paperless.vdi; and we’re storing it in the “vms” storage pool (which we previously set up). Here’s a view showing Cygwin: logging in via SSH, navigating to the directory holding the VDI file, and the import command.
This command can take quite a while to complete as the VDI file is converted. A handy percentage indicator keeps you updated with progress.

When the import is done, go back to the virtual machine in the web GUI and click the Hardware tab. You should see an “Unused disk” in the list. Make sure it is stored in the storage pool you want; I had some trouble with imported disks wanting to store themselves in the “local-lvm” storage even though I had specified my “vms” storage pool in the command. This happened twice in a row; both times, I had used the web-based shell, and both times the shell had timed out / gone to “no signal” before the import job was complete. On a hunch that this could be the problem, for the third try I ran the import task with a remote SSH session using Cygwin as shown above. This time the job completed as expected and my imported hard disk was stored in the correct volume.
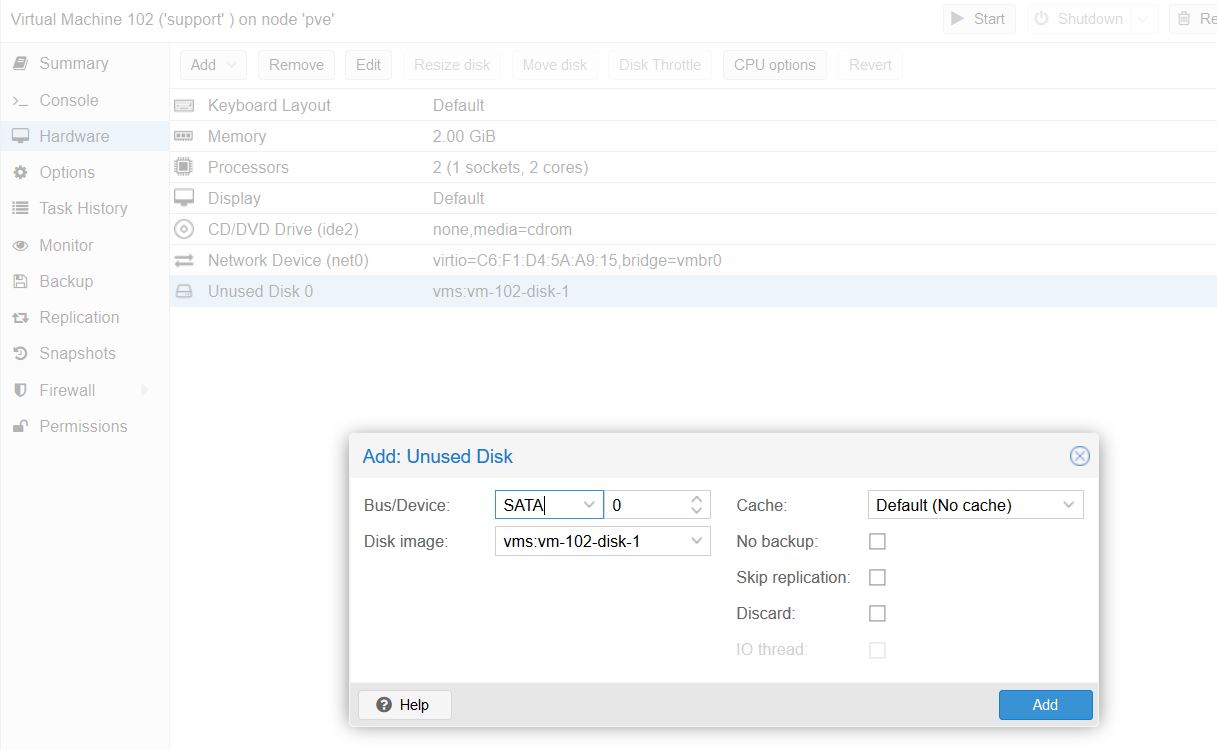
When the import task is complete, a new Unused Disk will appear in the VM Hardware pane. Double-click on the Unused Disk to add it to the machine. Leave it set to SCSI, which is default, and click Add. (note the picture below shows SATA; I tried that, but found switched later to SCSI because I found its performance to be much more acceptable).
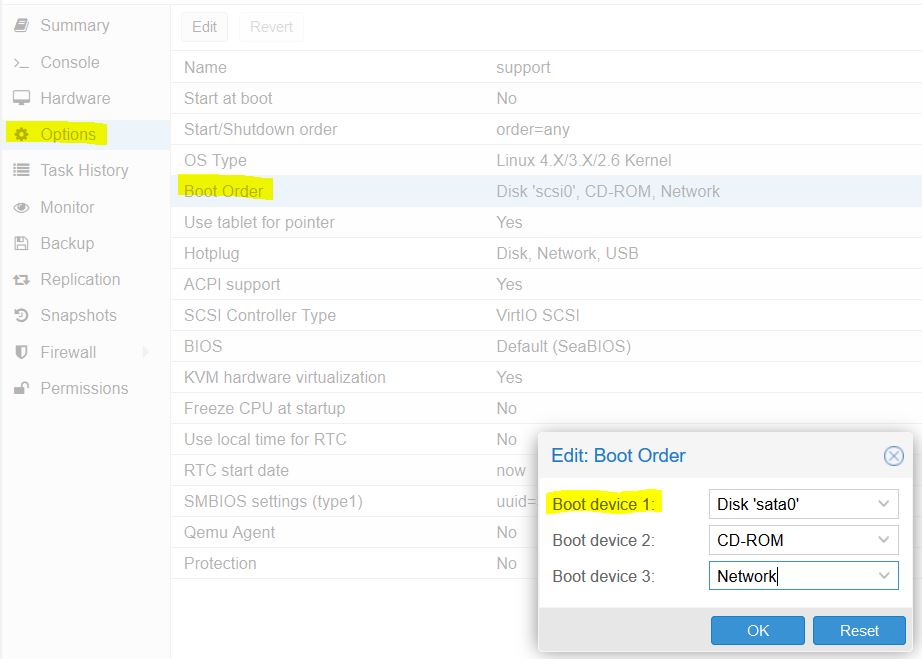
Now visit the Options tab (just under Hardware), and select our new disk as the primary boot device. (Again, note that if your disk is SCSI, Boot device 1 will be ‘scsi0’ or similar, rather than ‘sata0’ as shown.)
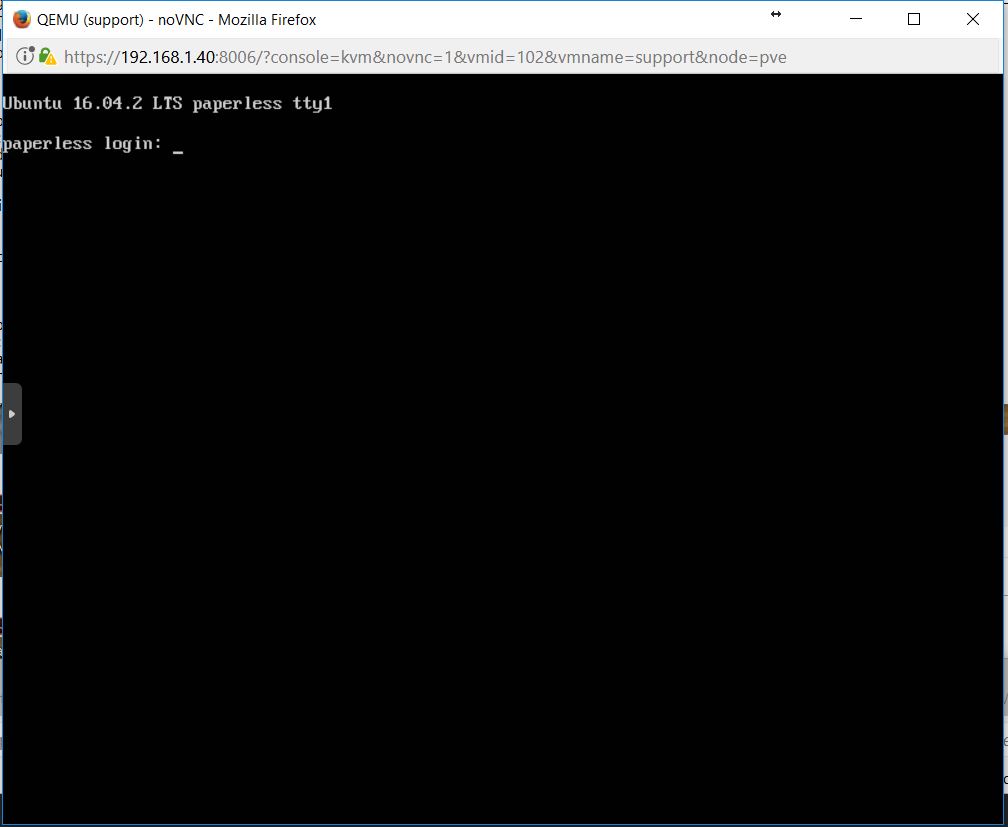
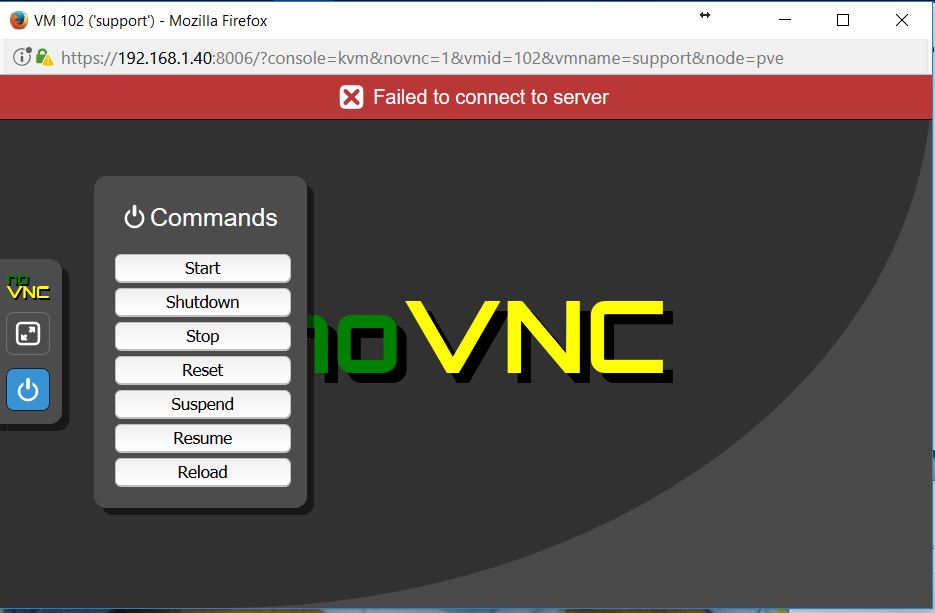
There are more options on this page, so feel free to look over them. If this is a system that should be always on, you’ll want to enable “Start at boot,” which will instruct Proxmox to start this virtual machine automatically on system boot. For now, let’s see if this machine starts up. Open a console by clicking the Console button in the toolbar, upper right. In the VNC console, click the power button on the left side; click Start, and watch the machine boot.
And, it booted! That’s the simple process of importing a VirtualBox hard disk to a Proxmox VE virtual machine.