Installing Raspian on a Raspberry Pi
 Have you been hearing of the Raspberry Pi and would like to get on board with this sleek little credit card sized computer? Here’s the easy way to install an operating system on your new Raspberry Pi so you can begin using it.
You will need…
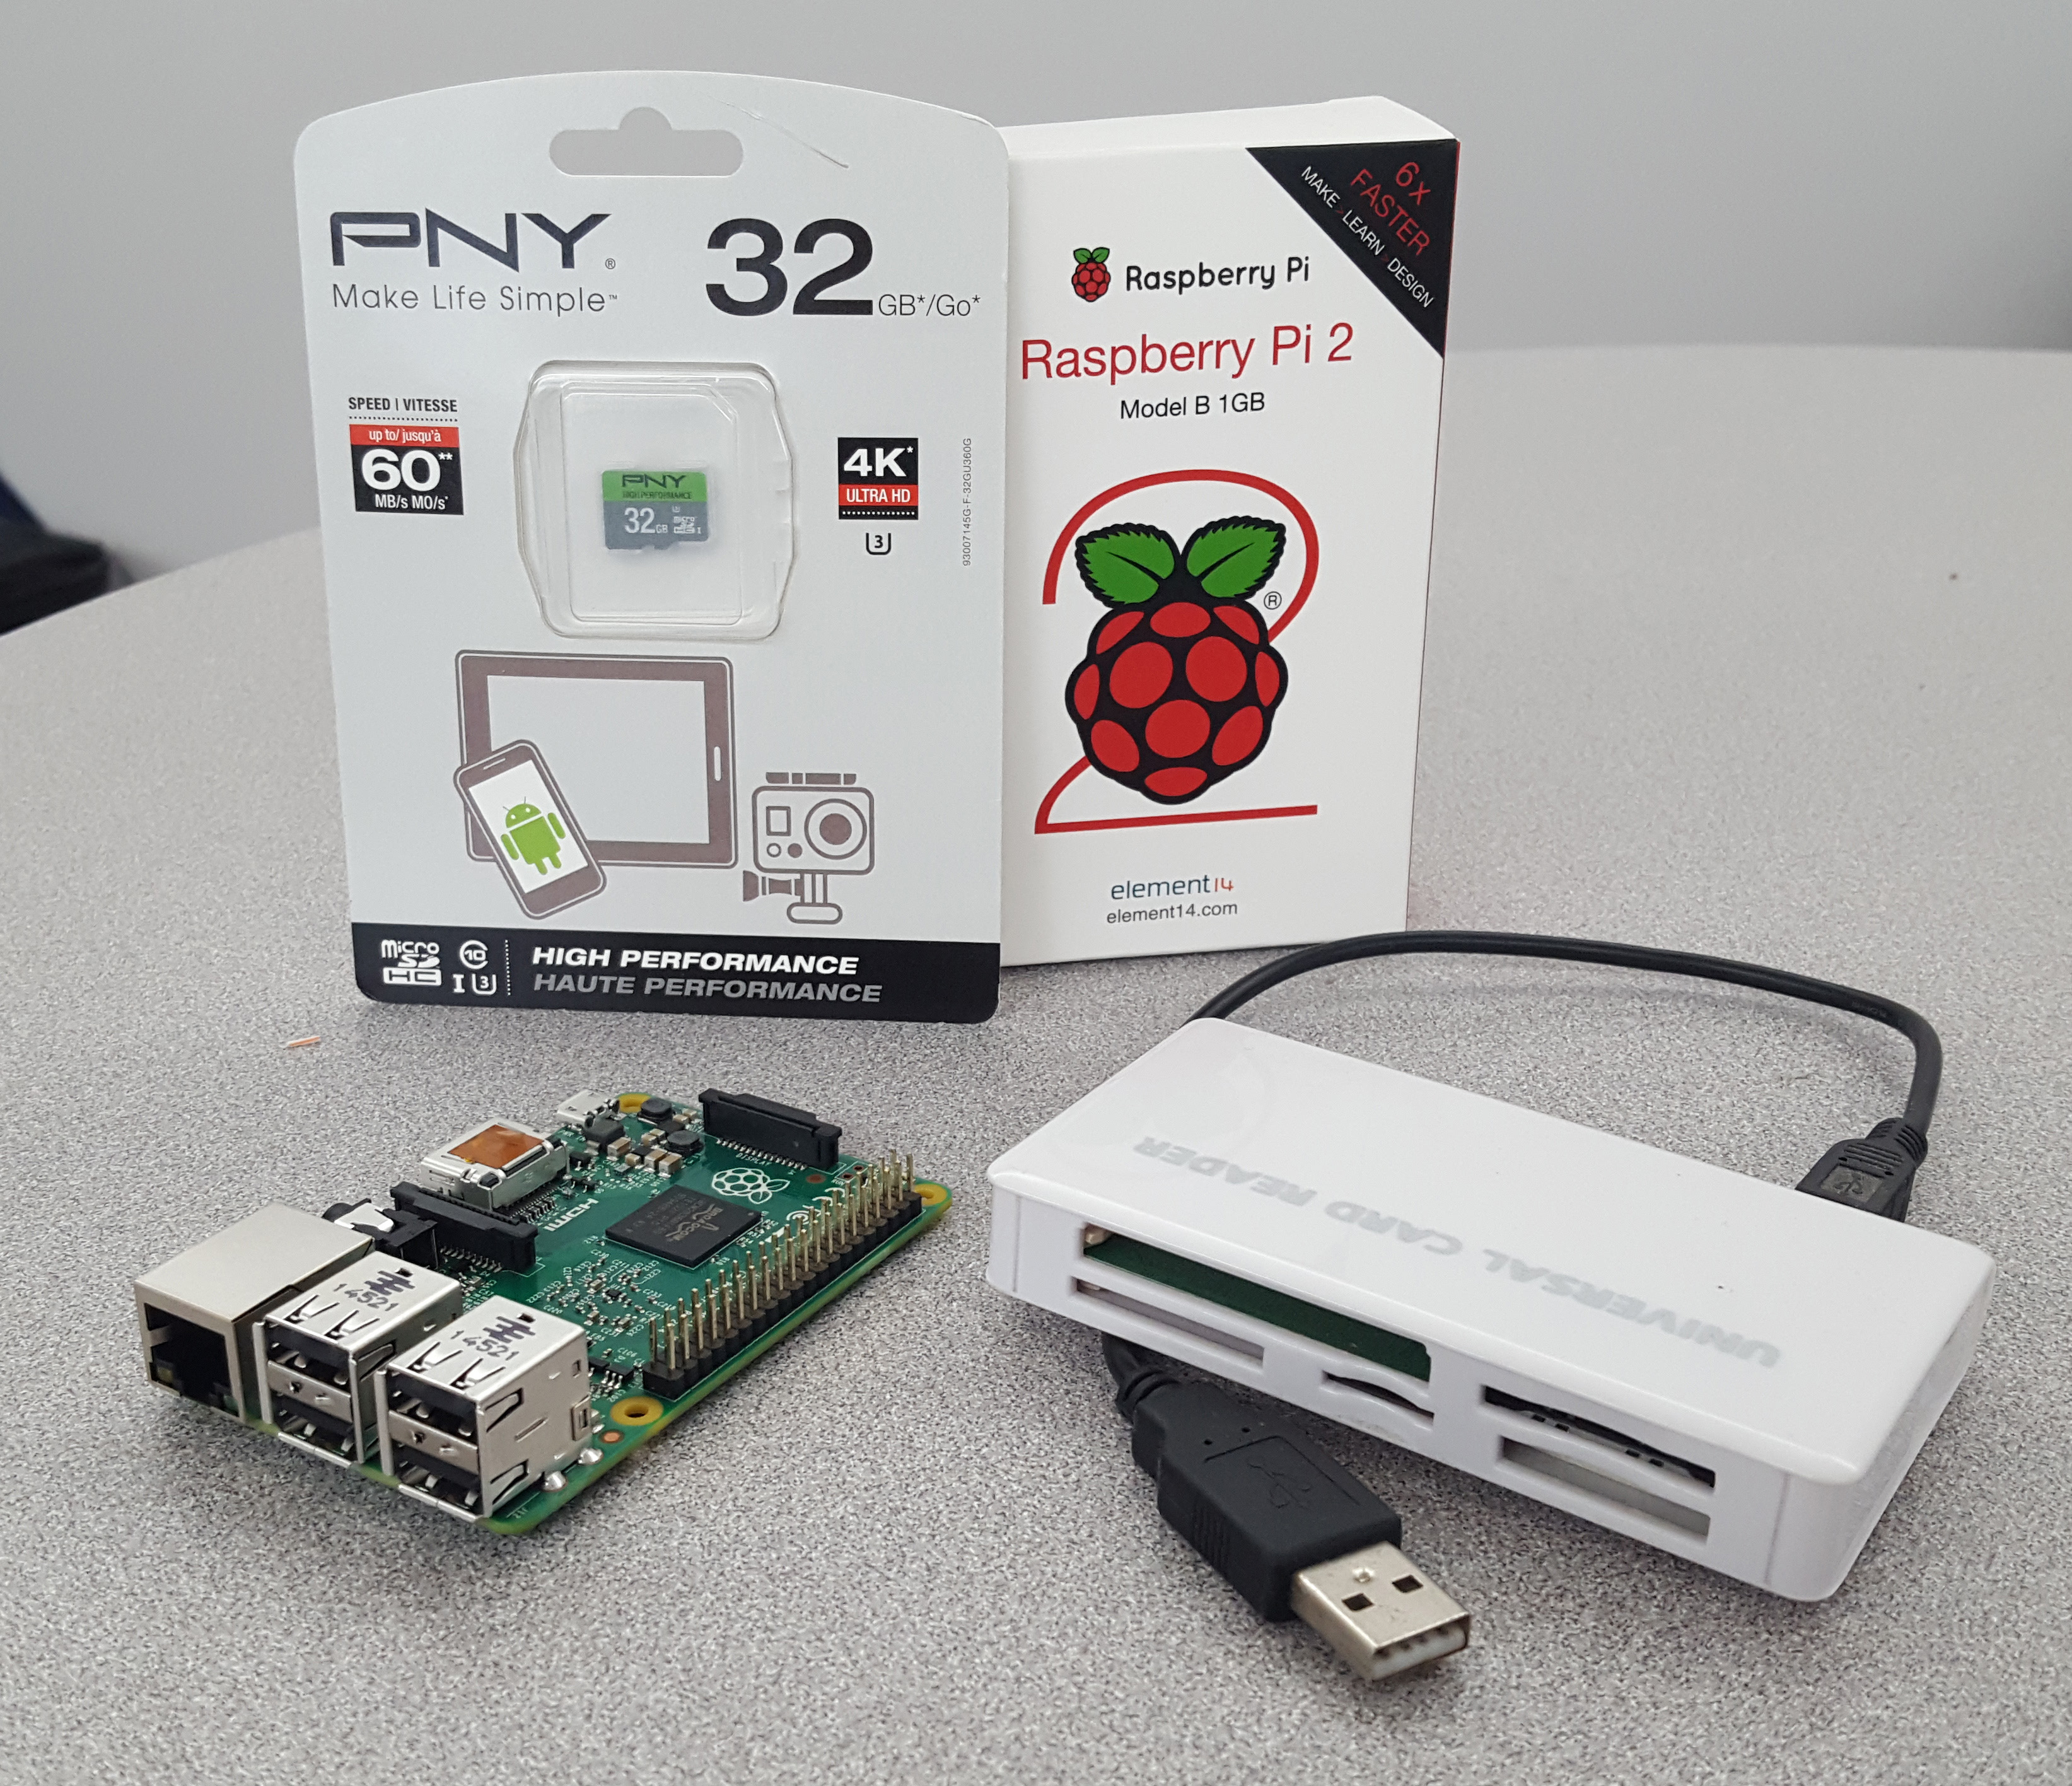
- a Raspberry Pi
- a power supply with enough amperage to power your Pi stably
- a compatible MicroSD card
- a card reader supporting MicroSD cards, if you don’t have one
- Good card imaging software (available for Windows, Mac, and Linux)
Installing an operating system on a Raspberry Pi is not like the process of installing Windows or Linux on a regular desktop computer, where you boot from installation media and install to a hard drive. Rather, you download a prepared hard drive image, and with that image you “burn” an SD card which will be used as the Pi’s system drive. When this card is imaged / burned / flashed (take your pick of the word you like best), it can be inserted into the Raspberry Pi and upon powering up, the little computer will boot and run.
Raspian Desktop or Raspian Lite?
First, choose an operating system and download its card image. For the purposes of this tutorial we’ll choose the officially recommended Raspberry Pi operating system, which is called Raspian. (A version of Debian built for the Raspberry; hence the name.) The official Raspian download page is here. If you want to use your Pi as a desktop computer, choose Raspian with Desktop. I’m going to install the Lite version because I’m planning to use my Pi as a headless device (no monitor, mouse, or keyboard installed). Think of the Lite version as the Server version; it has no graphical desktop interface, so any interaction will need to be via command line.
If you are running a Windows computer, you will need software to transfer the image file to your Raspberry Pi’s micro SD card. For this process I highly recommend Etcher for its ease of use and effectiveness. Go download and install Etcher while you are waiting for your card image to finish downloading.
Image that Card
When the Raspian image is done downloading you will have a ZIP file in your Downloads folder. Windows users, right-click the zip file and click Extract All… and extract the contents to a folder. Within this folder there will be just one file, with extension .img.
Now, plug your MicroSD card into your card reader and note what drive letter is assigned to it in Windows Explorer. In my case, Windows labeled my card as Drive L.

Now open Etcher and follow its fantastically easy 1-2-3 process:
- Select your Raspian image;
- Make sure the correct drive is selected for flashing;
- and then just click Flash!
You can see that it looks like Etcher automatically detected my USB drive L already:
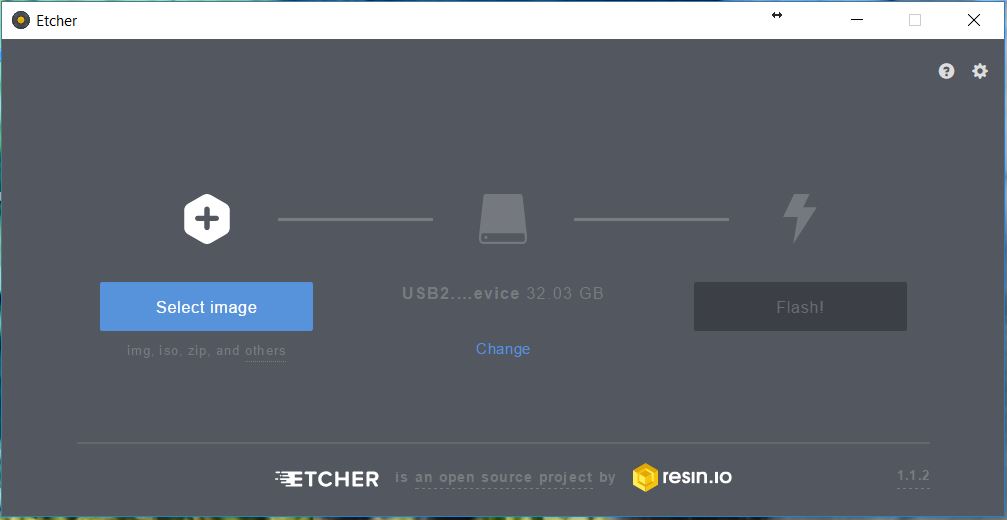
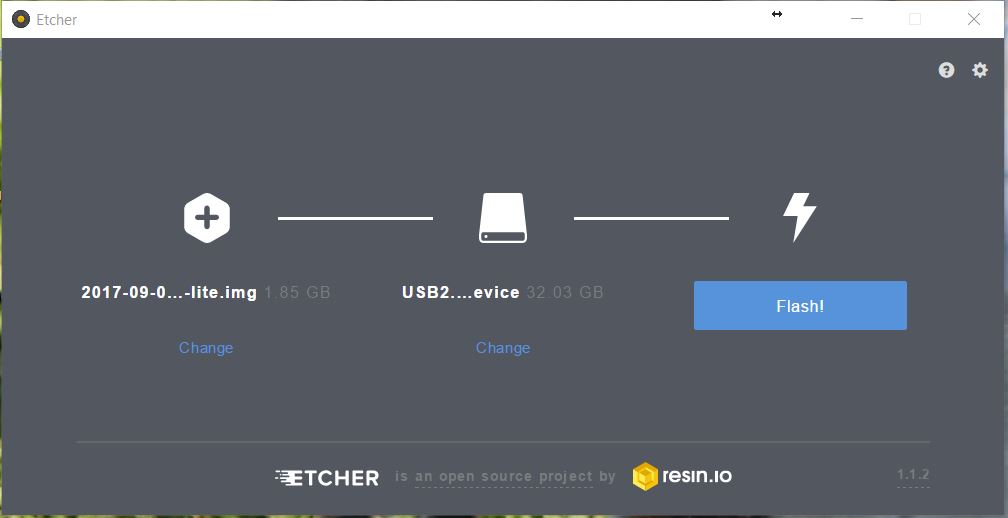
I clicked Select Image and selected my freshly downloaded and extracted Raspian image. (You can also drag and drop your image file into the Etcher window.) Hovering my mouse over the “USB2…device” verified that it was Drive (L:) and I was all set to press Flash.
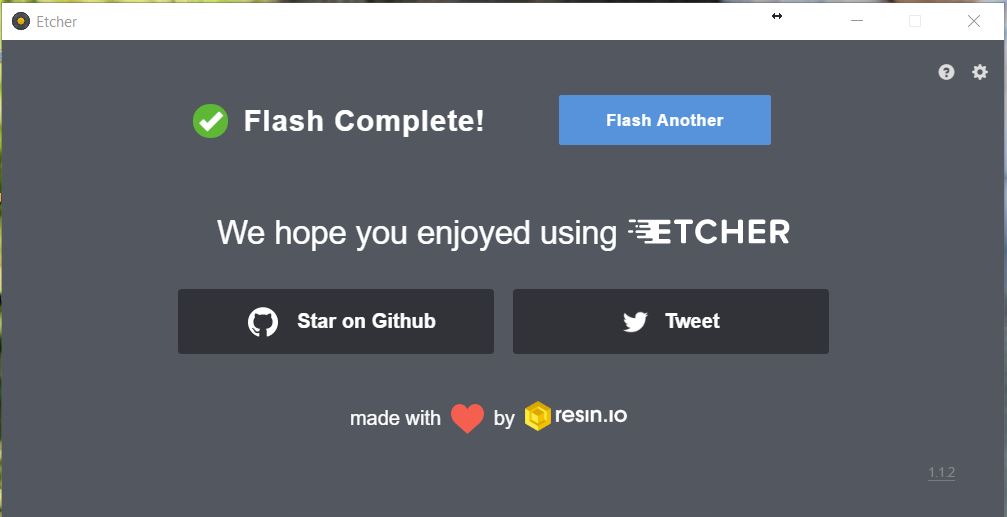
Give Etcher time to do its thing. There’s a lot of data to write to the card, so it will take a few minutes. When the write is complete, Etcher will go through a second step during which it validates the data, ensuring its integrity; it will then close the session and eject the card properly to ensure all read/write operations are finished. When Etcher says “Flash Complete!” you can safely unplug your card. If Windows pops up any messages at this point about needing to format a disk before using it, click Cancel; do not format.
Here’s a screenshot of Etcher showing successful flash message. This software works so well, and is so incredibly easy to use, that I really can’t recommend it too highly. I’ve been around the block with win32diskimager, Rufus, etc, but Etcher just works.
Does it boot?
All right, time to test! Insert the MicroSD card into the slot on the bottom side of the Pi, card pins facing the board. Plug in a monitor (you’ll need an HDMI cable, or else an adapter to change HDMI to VGA or DVI). Plug in a USB keyboard (and mouse, if you’re using the Desktop version). Plug in a micro-USB power source and watch it boot. (A word on the power supply you use: I discovered that a Raspberry Pi is not stable and may not boot if your AC adapter doesn’t put out enough wattage. I had poor results with my Bluetooth headset charger, which only is rated for 500 Watts; my BlackBerry charger, rated for 2 Amps, runs a Pi very well.)
It boots!
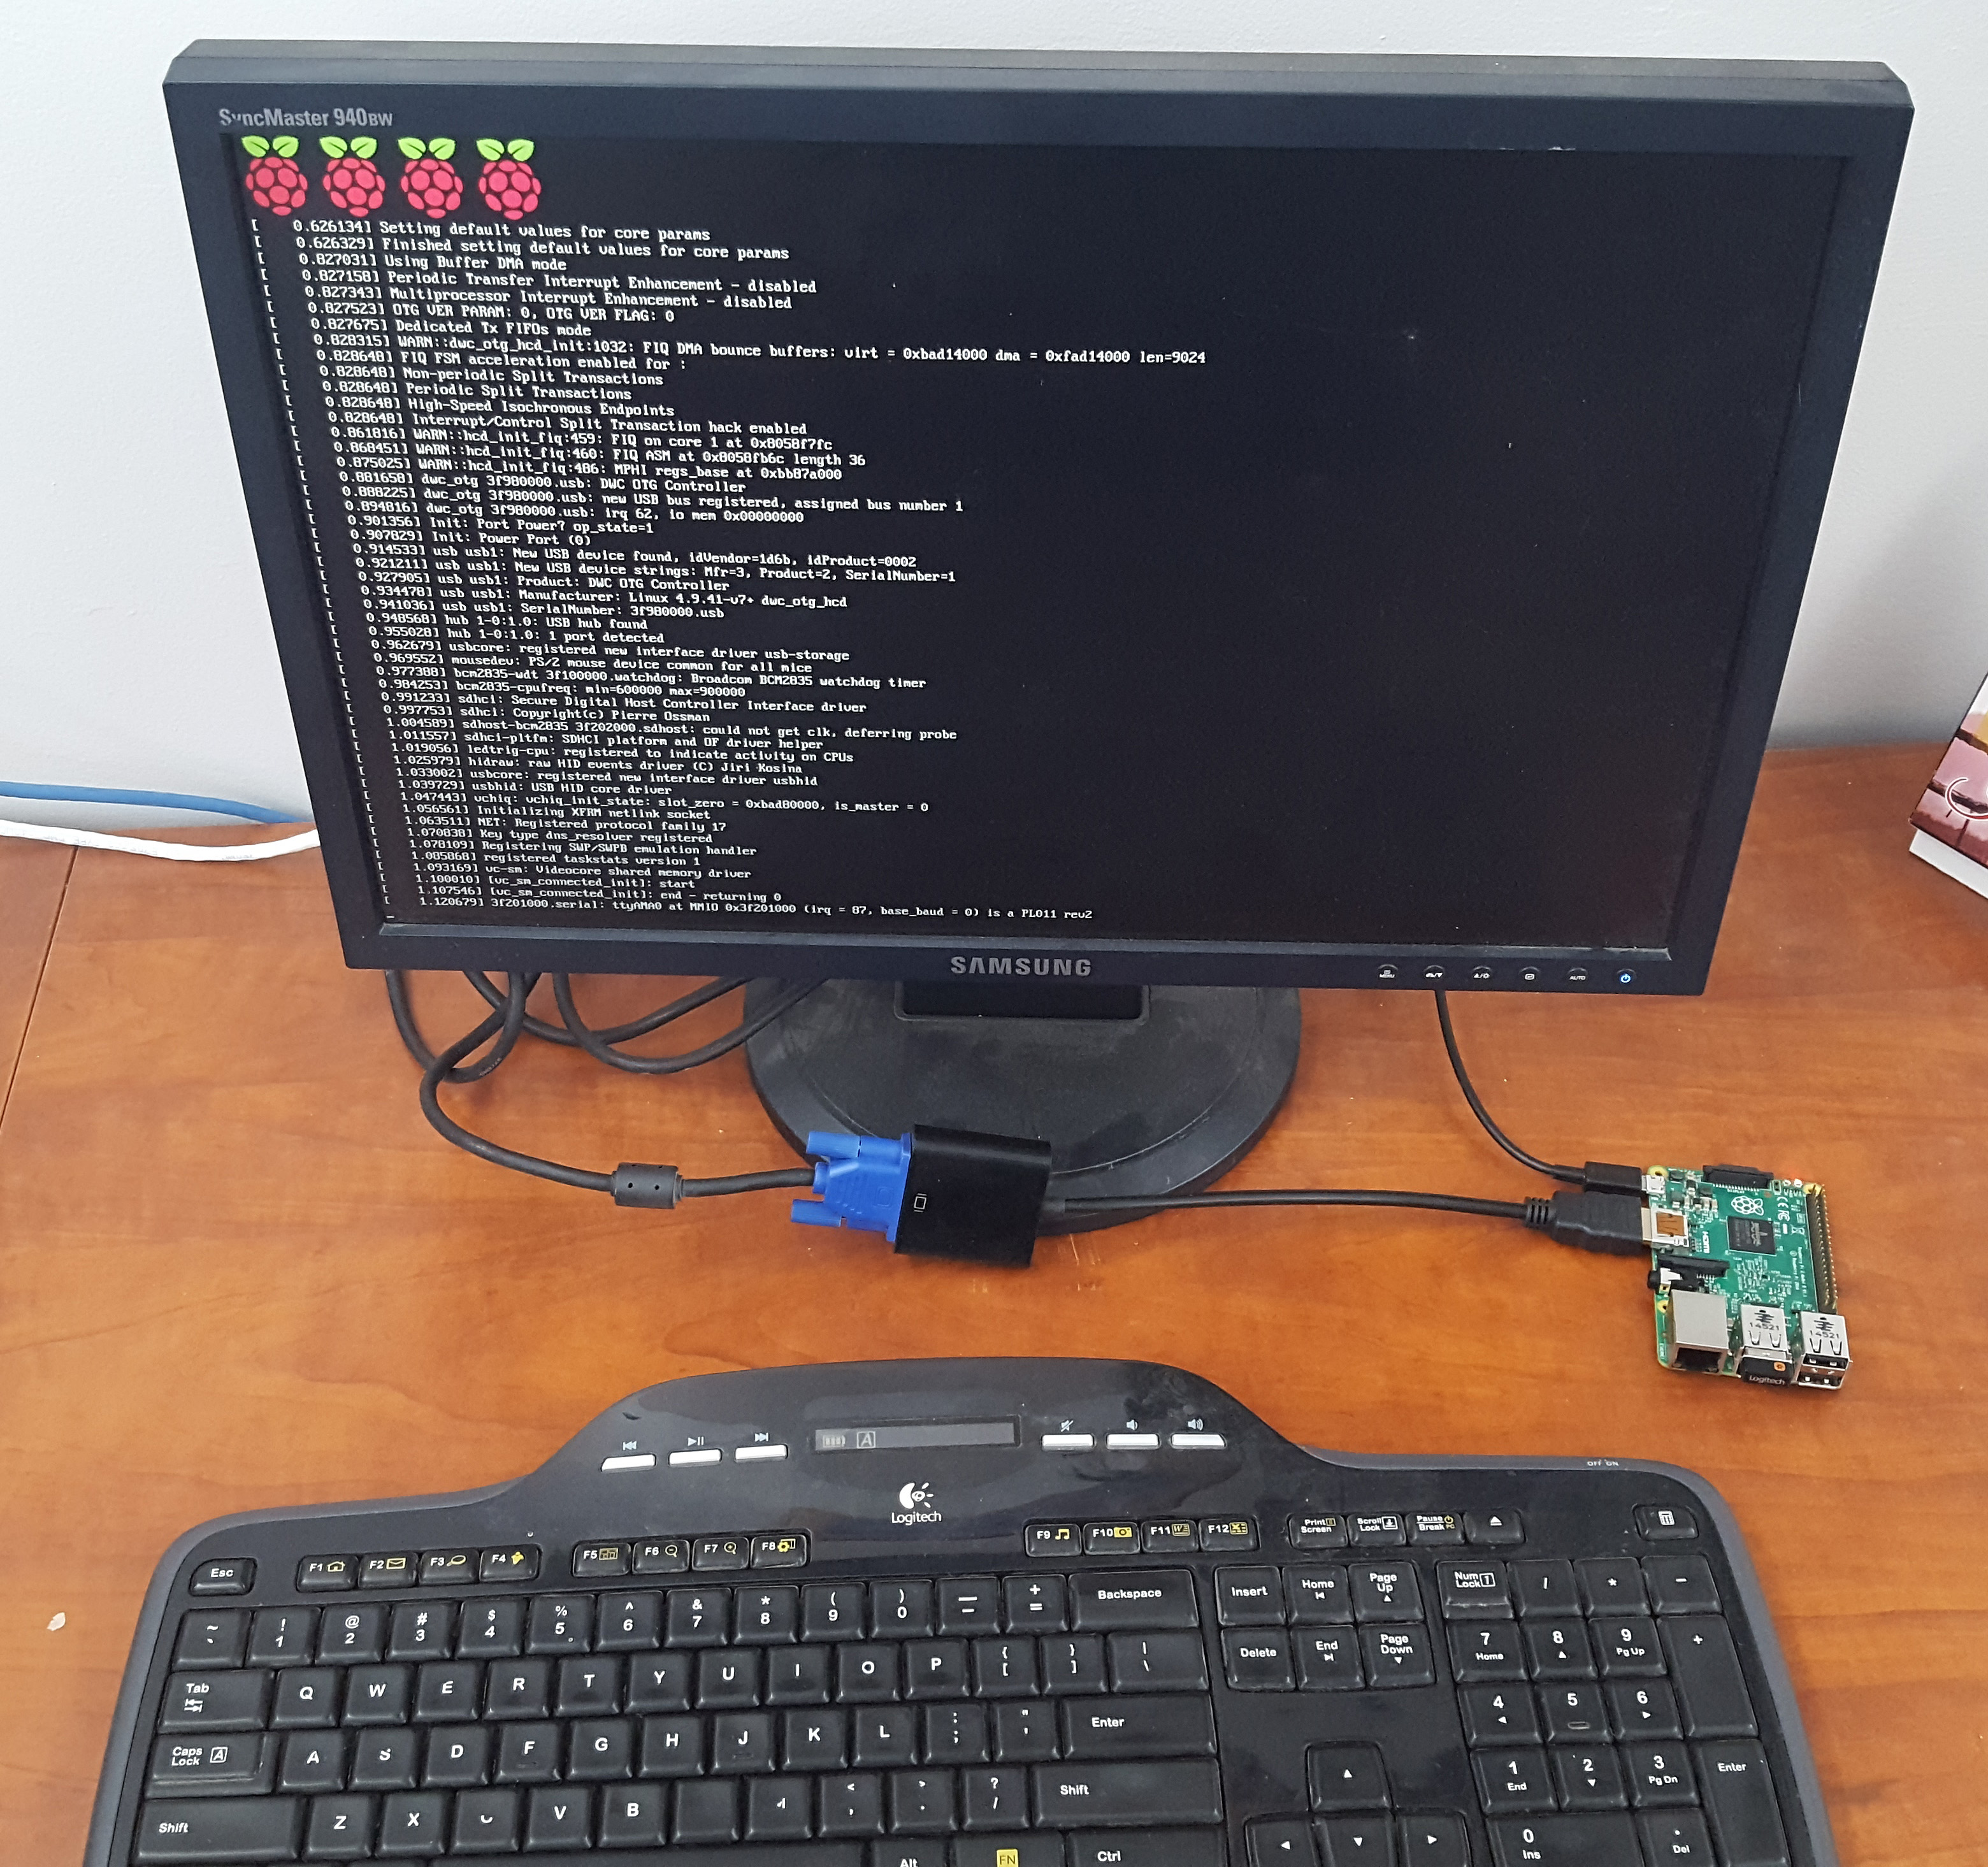
All right, the little computer is running. The next job for the Pi involves some home automation, which I’m excited about. Look for more Pi articles as my schedule permits me to have time to work with it.